Managing Projects in Trello
Get end to end accountability for your projects by implementing a kanban style board in Trello.
Odhrán Roche
11/30/20236 min read
Why use Trello?
There are many benefits to managing projects in Trello. Benefits include but are not limited to the following:
As a manager you can:
See all projects in one place
Understand team occupancy
Easily set and update team priorities
As a team member you can:
Track your projects
Communicate your progress to everyone at once
Highlight blockers and signal for more resources
As a project manager you can:
Communicate a well defined project scope
Create a shared definition of done
Set task and project accountability
Trello alternatives
There a number of good alternatives to Trello, such as Jira. Most of these tools have similar functions to Trello. The following setup will work in other tools, with some minor changes.
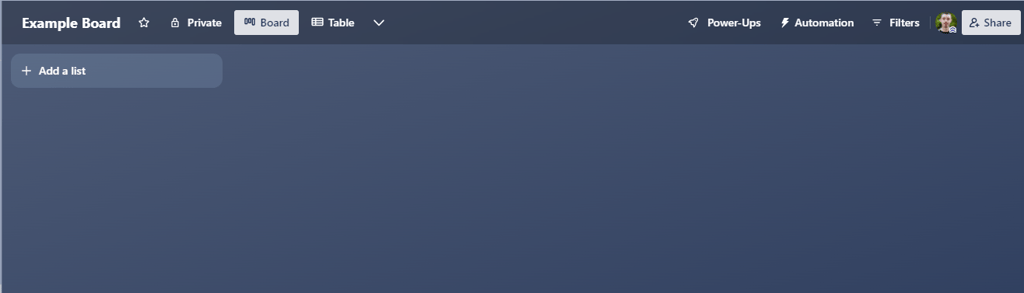
Creating a board
To create your first Trello board, go to the Trello website and create an account. After you've logged in, click 'Create' in the top menu bar to create your first board.

When creating a board, template boards are available to explore. For now let's start with an empty board.
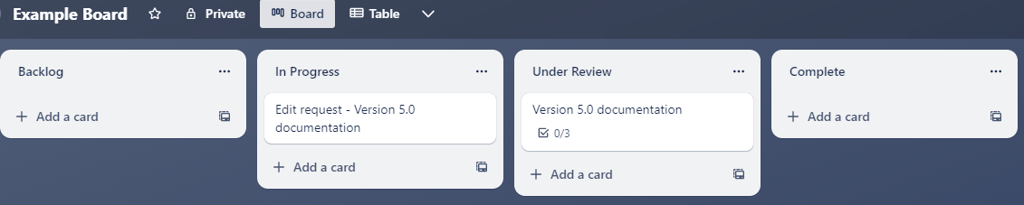
Choosing columns
Columns (called lists in Trello) represent the workflow that your projects go through. Consider the main phases of each project. Projects usually start in a backlog. Work is assigned or taken and the team works on the project. The project might need to go through a review process before it can be considered complete.
Each phase or the project is a column in the board. Projects move from the left to the right of the board:
Backlog → In progress → Under review/QA → Complete


Each column will be populated with projects. This high level board view shows you how many projects are in each status. Team members move projects from one column to the next as the project moves forward. Trello automatically tracks movements from one column to another, so you can tell how long a project spent in each phase.
Add additional columns for the most important steps in your project workflow. For example, if you are a content developer and your content needs both a standard editorial review and a legal review, you can add a 'Legal Review' column to your board.
Some teams also add static, non-workflow columns with helpful information like links, reference material, or contacts. Start simple and add columns only as you need them. Try to keep the number of columns low enough so that all columns can be viewed on screen without needing to scroll horizontally.
Adding projects
It's good to consider what type of information you want to track in your projects. In Trello, projects are described by cards. Each card is a project. The title is the only mandatory field in a Trello card, but other default options are useful, such as:
Description
Members
Due date
Checklist
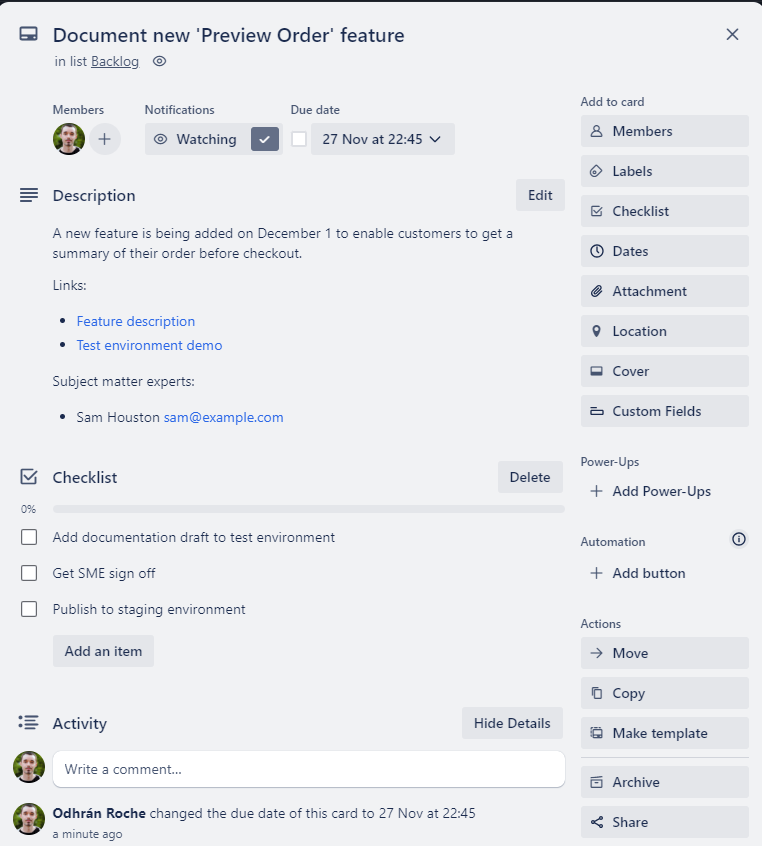
The following image shows an example project card.
Description
Describe the goal of the project and outcome you expect in the card description. Use this field to define the scope of the project: what is and is not required. You can also include useful reference links and contacts to help your team.
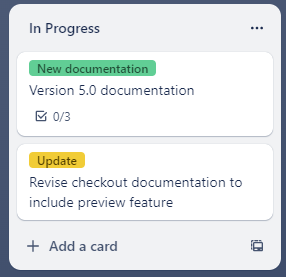
Title
Use a short, descriptive title to make it easy to identify the project when looking at the high level board view.
Avoid generic titles like "Course update" or "Bug". Instead, add context to help identify the project. For example "Update documentation for System X to include version 5.0", or "Resolve Jira #123 - Misaligned text on homepage".
Members
Add everyone working on the project as a project member. Members will receive notifications about updates to the card. To communicate with everyone on the project, you can tag all members of a card in the comment section.
Due date
Every project should have a set due date. Projects without a clear deadline often get deprioritized and take much longer than they need. If a deadline is uncertain, set an approximate due and revise it as needed.
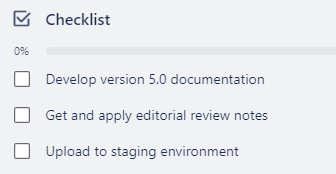
Checklist
Many projects fail due to unclear objectives. A checklist helps to define what it looks like when the project is complete. Completion criteria (sometimes called the definition of done) lists all the steps needed to close out the project.
Use a checklist to list completion criteria for the project. Each checklist item can have team members and a due date assigned to it.
Should a task be a new card, a column, or a checklist item?
Consider the editorial review of some content. This could be a mini-project that gets its own card. The editor is assigned to a new edit request card, and they manage it through most of the usual project workflow phases.
Backlog -> In Progress -> Completed
The original project card is placed in 'Under Review' until reviews are complete. The advantage of this approach is the tracking and flexibility you get with a new card.
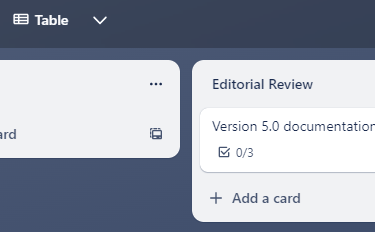
Another option is to move the main project card to an 'Editorial Review' column, and allow the editor to take ownership of the project for their review. For this workflow, you might need a process to inform the editor that a card has entered their queue.

A third option is to have the editorial review as a checklist item in the main project card. As a checklist item, it forms part of the completion criteria for the project. An editor can be assigned to the task in the checklist.
The choice of which workflow to use depends on the task:
A new card is useful for larger, independent tasks; the card can have its own due date and checklist; the team can discuss specific issues in the new card
Columns define your workflow, if all your projects are required to pass through this phase, a column might be appropriate
Checklist items are useful for simple tasks that are clearly defined


Create templates
Consistency across project cards will help team members understand and navigate requests. Consistent project definitions also prevents the need to go back to the requestor to clarify information.
One way to create consistency is with card templates. A template is a card that can be populated with default values. New cards created from a template contain a copy of the template information. For similar projects, you don't need to start from scratch, instead you can use a template to generate cards with default fields.
List the common types of projects that your team works on, and what information is needed to get started. Create templates with default fields the project requestor should fill out.
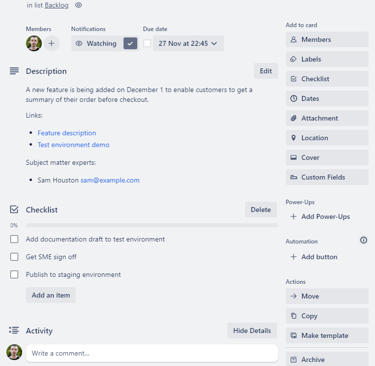
In Trello, create a card as you normally would, then click the Template button to be able to reuse this card content multiple times. The following image shows an example template:
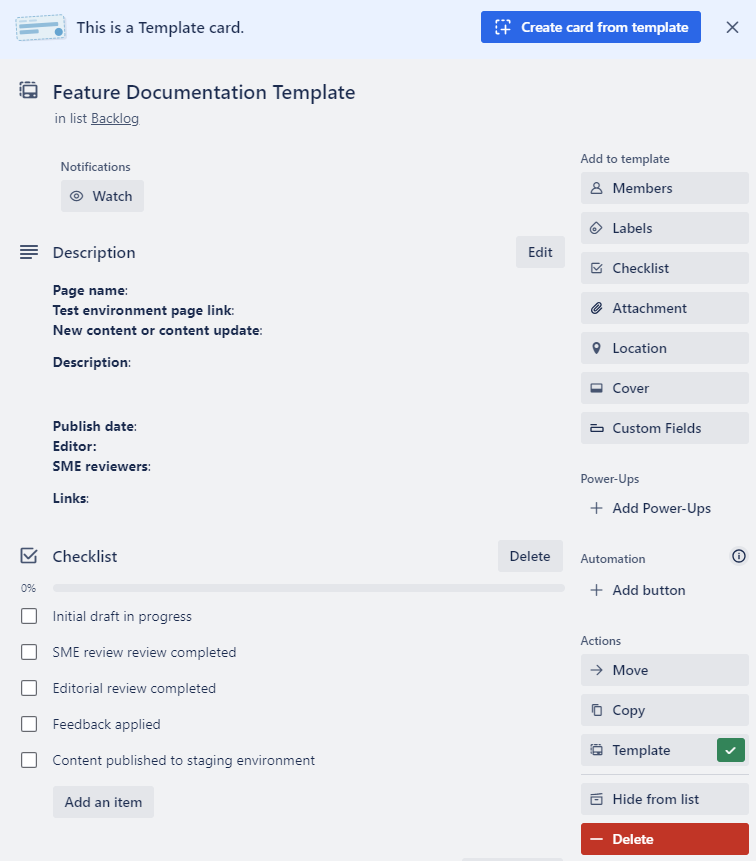
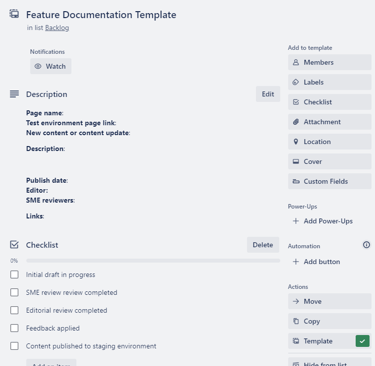
Information from the template will be copied into each card you create using the template. When the requestor creates a new Feature Documentation request, they will create a new card with this template and then fill out the empty fields in the description.
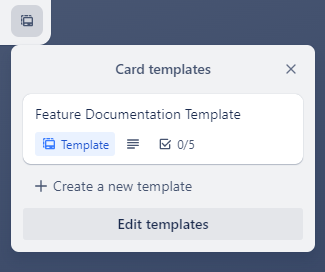
Click on the templates button at the bottom of a column to see the list of available templates.

Labels and filters

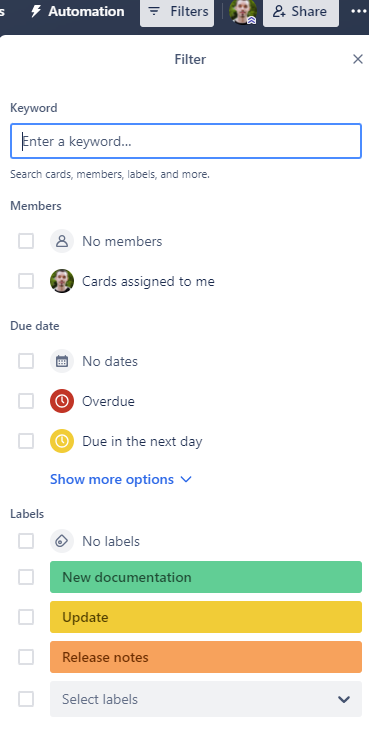
After adding projects to your board, you can label cards with a specific category. Labels and other card information, like members, can be used to filter cards on the board. This is useful when there are many projects on a single board.
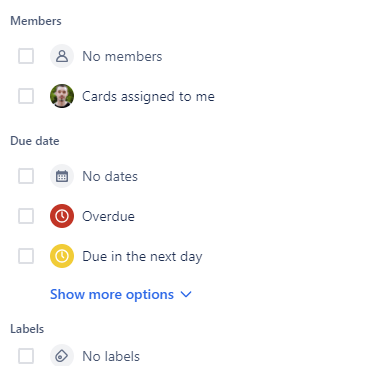
Card labels
Filters
Conclusion
A Trello board is a simple way to have transparency for your projects. Cards provide an easy method of clarifying goals, tracking progress, and setting accountability for tasks.
Visual information on the board allows you to track the status of your projects by which column they are in. Bottlenecks can be identified by monitoring how long cards spend in each status. Overdue projects are highlighted in red.
As team members engage with the board, you will find improvements and workflows that work for your team. This is only the beginning of what is possible with a kanban board and Trello. Good luck and get in touch if you have any quesitons.